
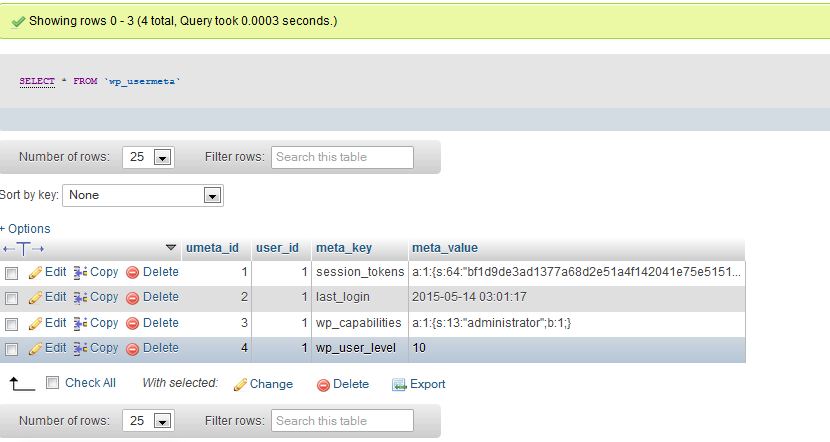
Editing the wp_usermeta table
So now that we have inserted our user we will need to give it privileges to access the WordPress Admin seciton. This is done through the wp_usermeta table. You will need to know the id of the user you just created. If you don’t know the id now would be a good time to check the wp_users table for it. We will need to insert two rows into the wp_usermeta table, wp_capabilities and wp_user_level. Here are the steps you will need to follow to give your user privileges.
- Click on the wp_usermeta table to bring up the entries.
- Click on the “Insert” tab to insert a new row.
- Fill in the following information
- umeta_id – leave this blank it is automatically generated
- user_id – this is the id of the user you created in the previous steps
- meta_key – for this step insert wp_capabilities
- meta_value – insert exactly this –
a:1:{s:13:"administrator";b:1;}
- Insert another row with this information
- umeta_id – leave this blank it is automatically generated
- user_id – this is the id of the user you created in the previous steps
- meta_key – for this step insert wp_user_level
- meta_value – insert 10
- Click the “Go” button in phpMyAdmin to insert the row.
Insert script
INSERT INTO `wp_classipress`.`wp_usermeta` (`umeta_id`, `user_id`, `meta_key`, `meta_value`) VALUES (NULL, '1', 'wp_capabilities', 'a:1:{s:13:"administrator";b:1;}'), (NULL, '1', 'wp_user_level', '10');
Now you should be able to login to your wp-admin page with the username and password you specified for this user. After logged in I would visit the Users section within WordPress, click edit on the user I just added, and click the Update Profile button at the bottom of the screen. This will allow WordPress to go through and add some more information and “clean up” the user we just added.